Two minutes. No drilling. Watch it once — you’ll never need to again.
About sixty seconds. The universal 10.5mm bracket fits any standard motorcycle wing mirror — Vespa, Honda, Yamaha, BMW, KTM and most others.
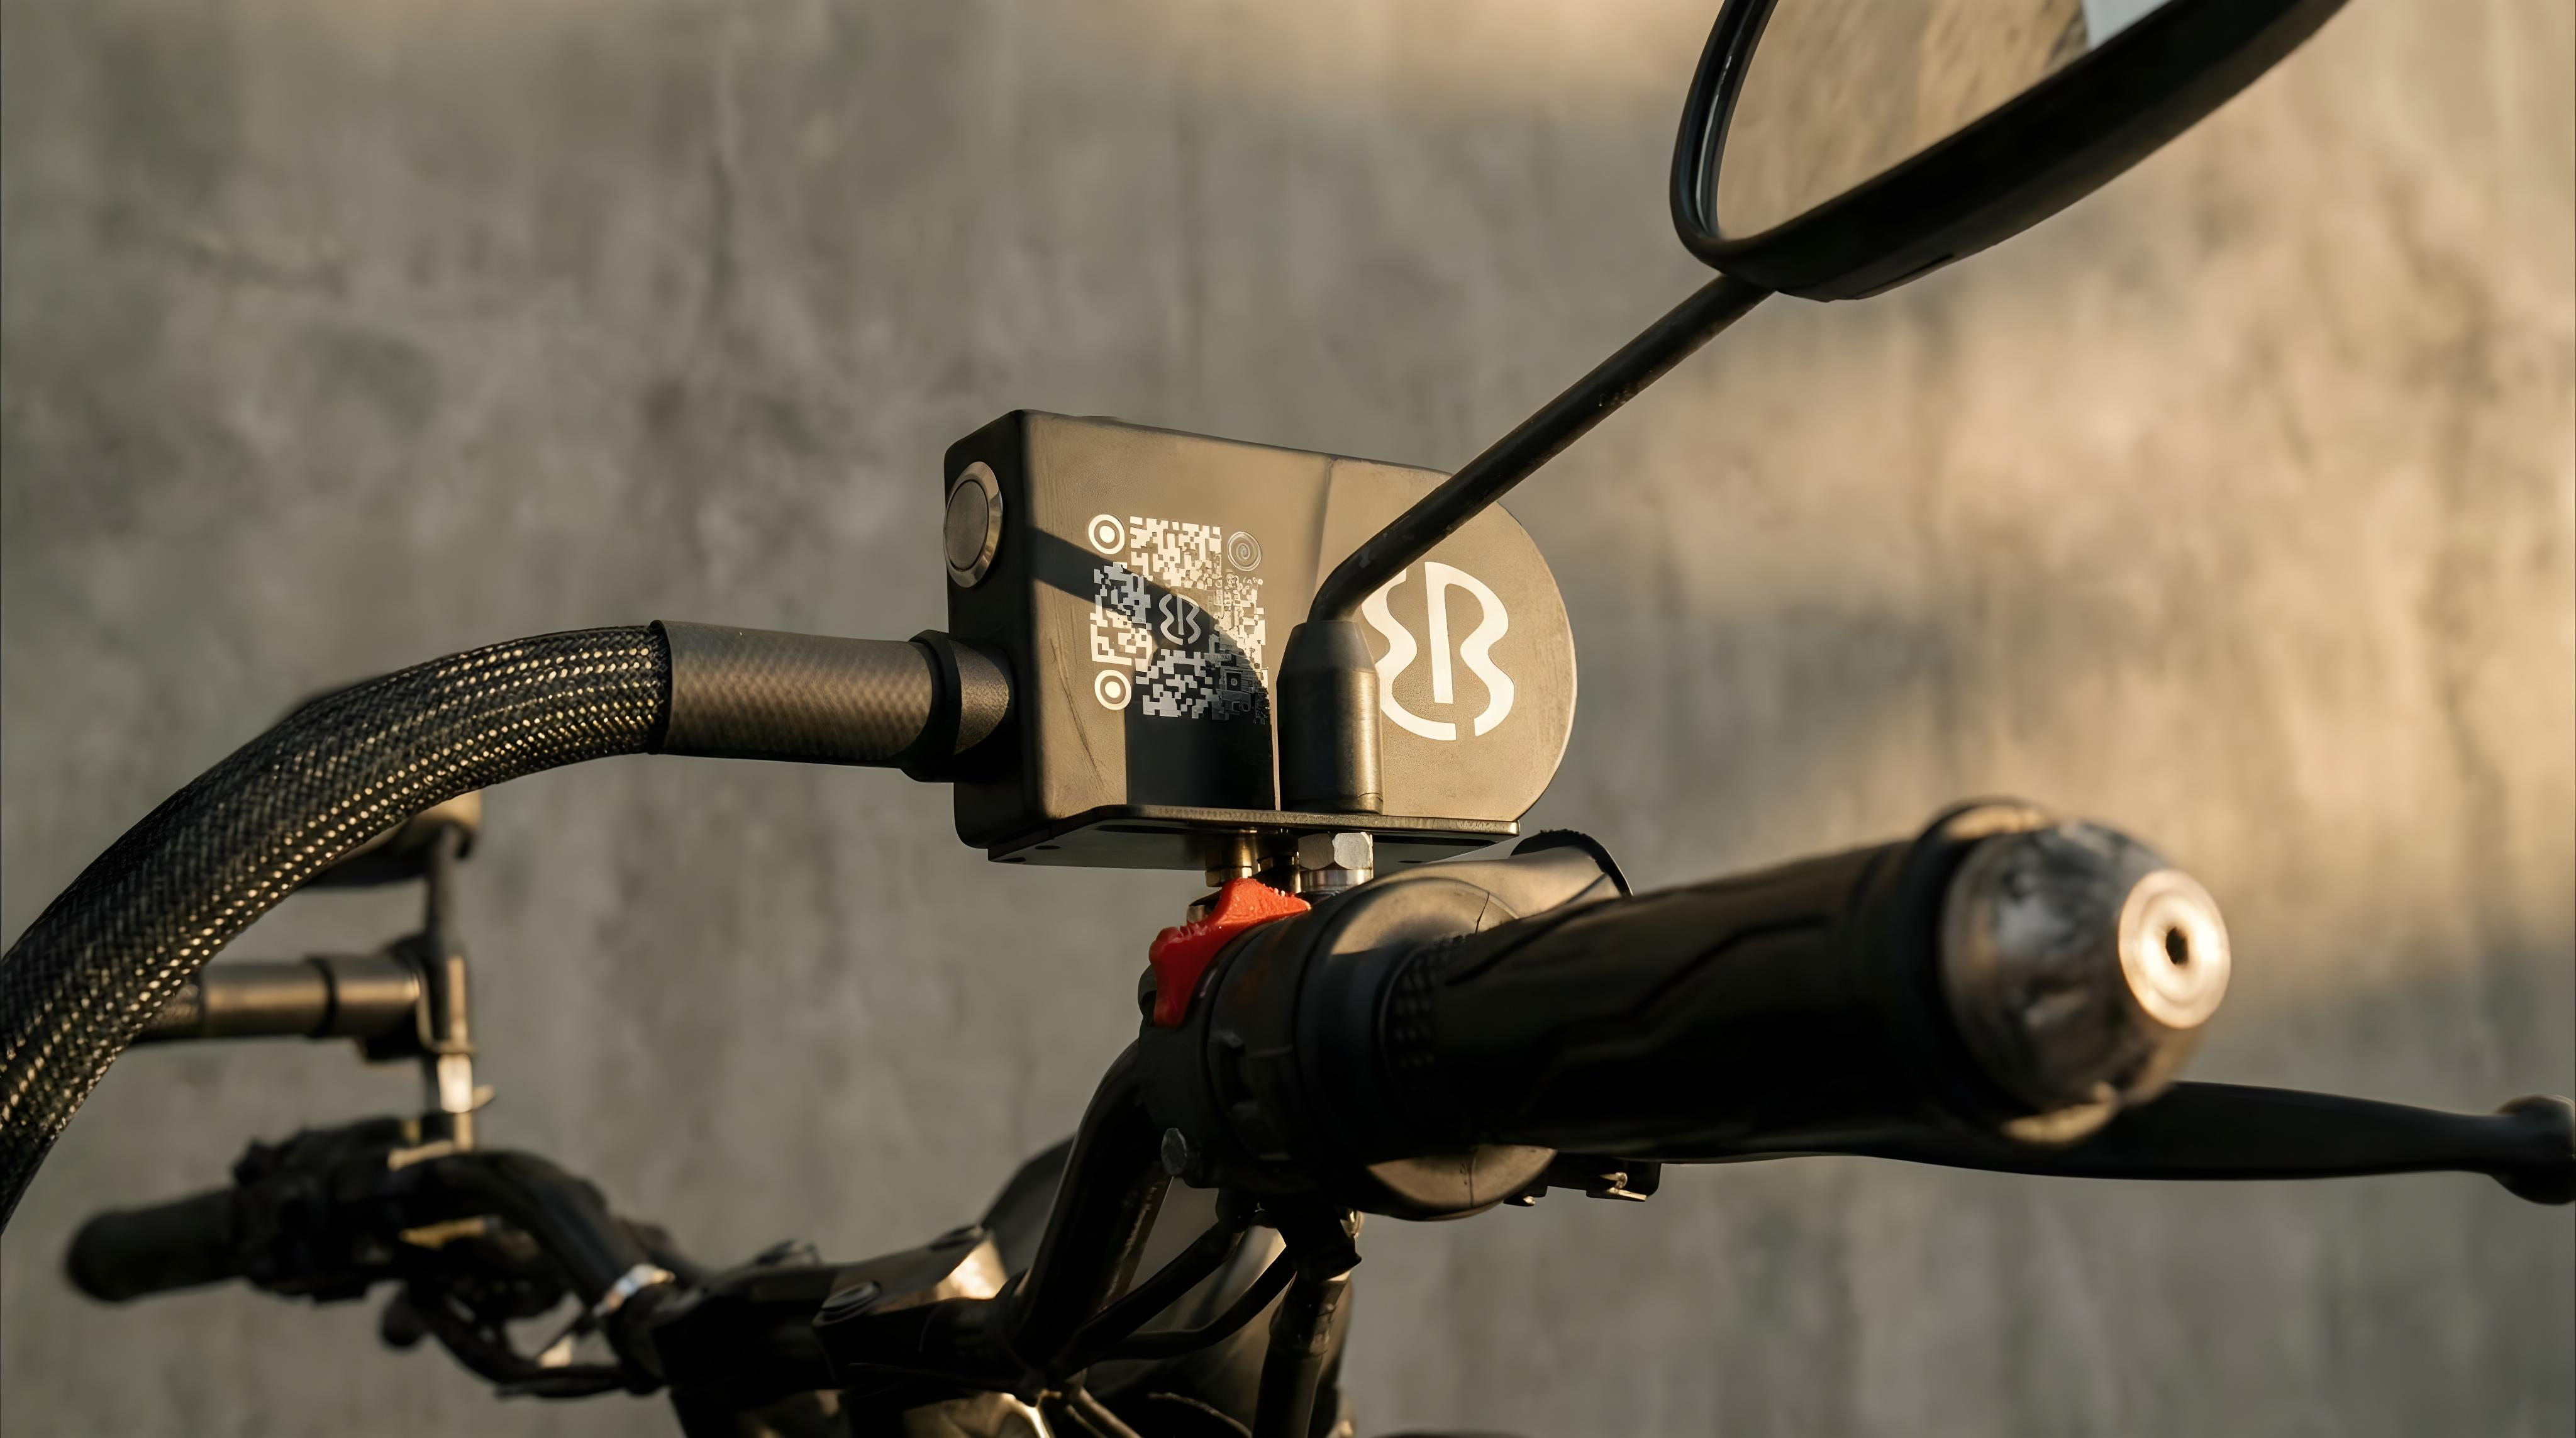
Use a 17mm or 19mm wrench (most bikes). Hold the base, turn the nut counter-clockwise. Set the mirror aside — you’ll need it again in a moment.
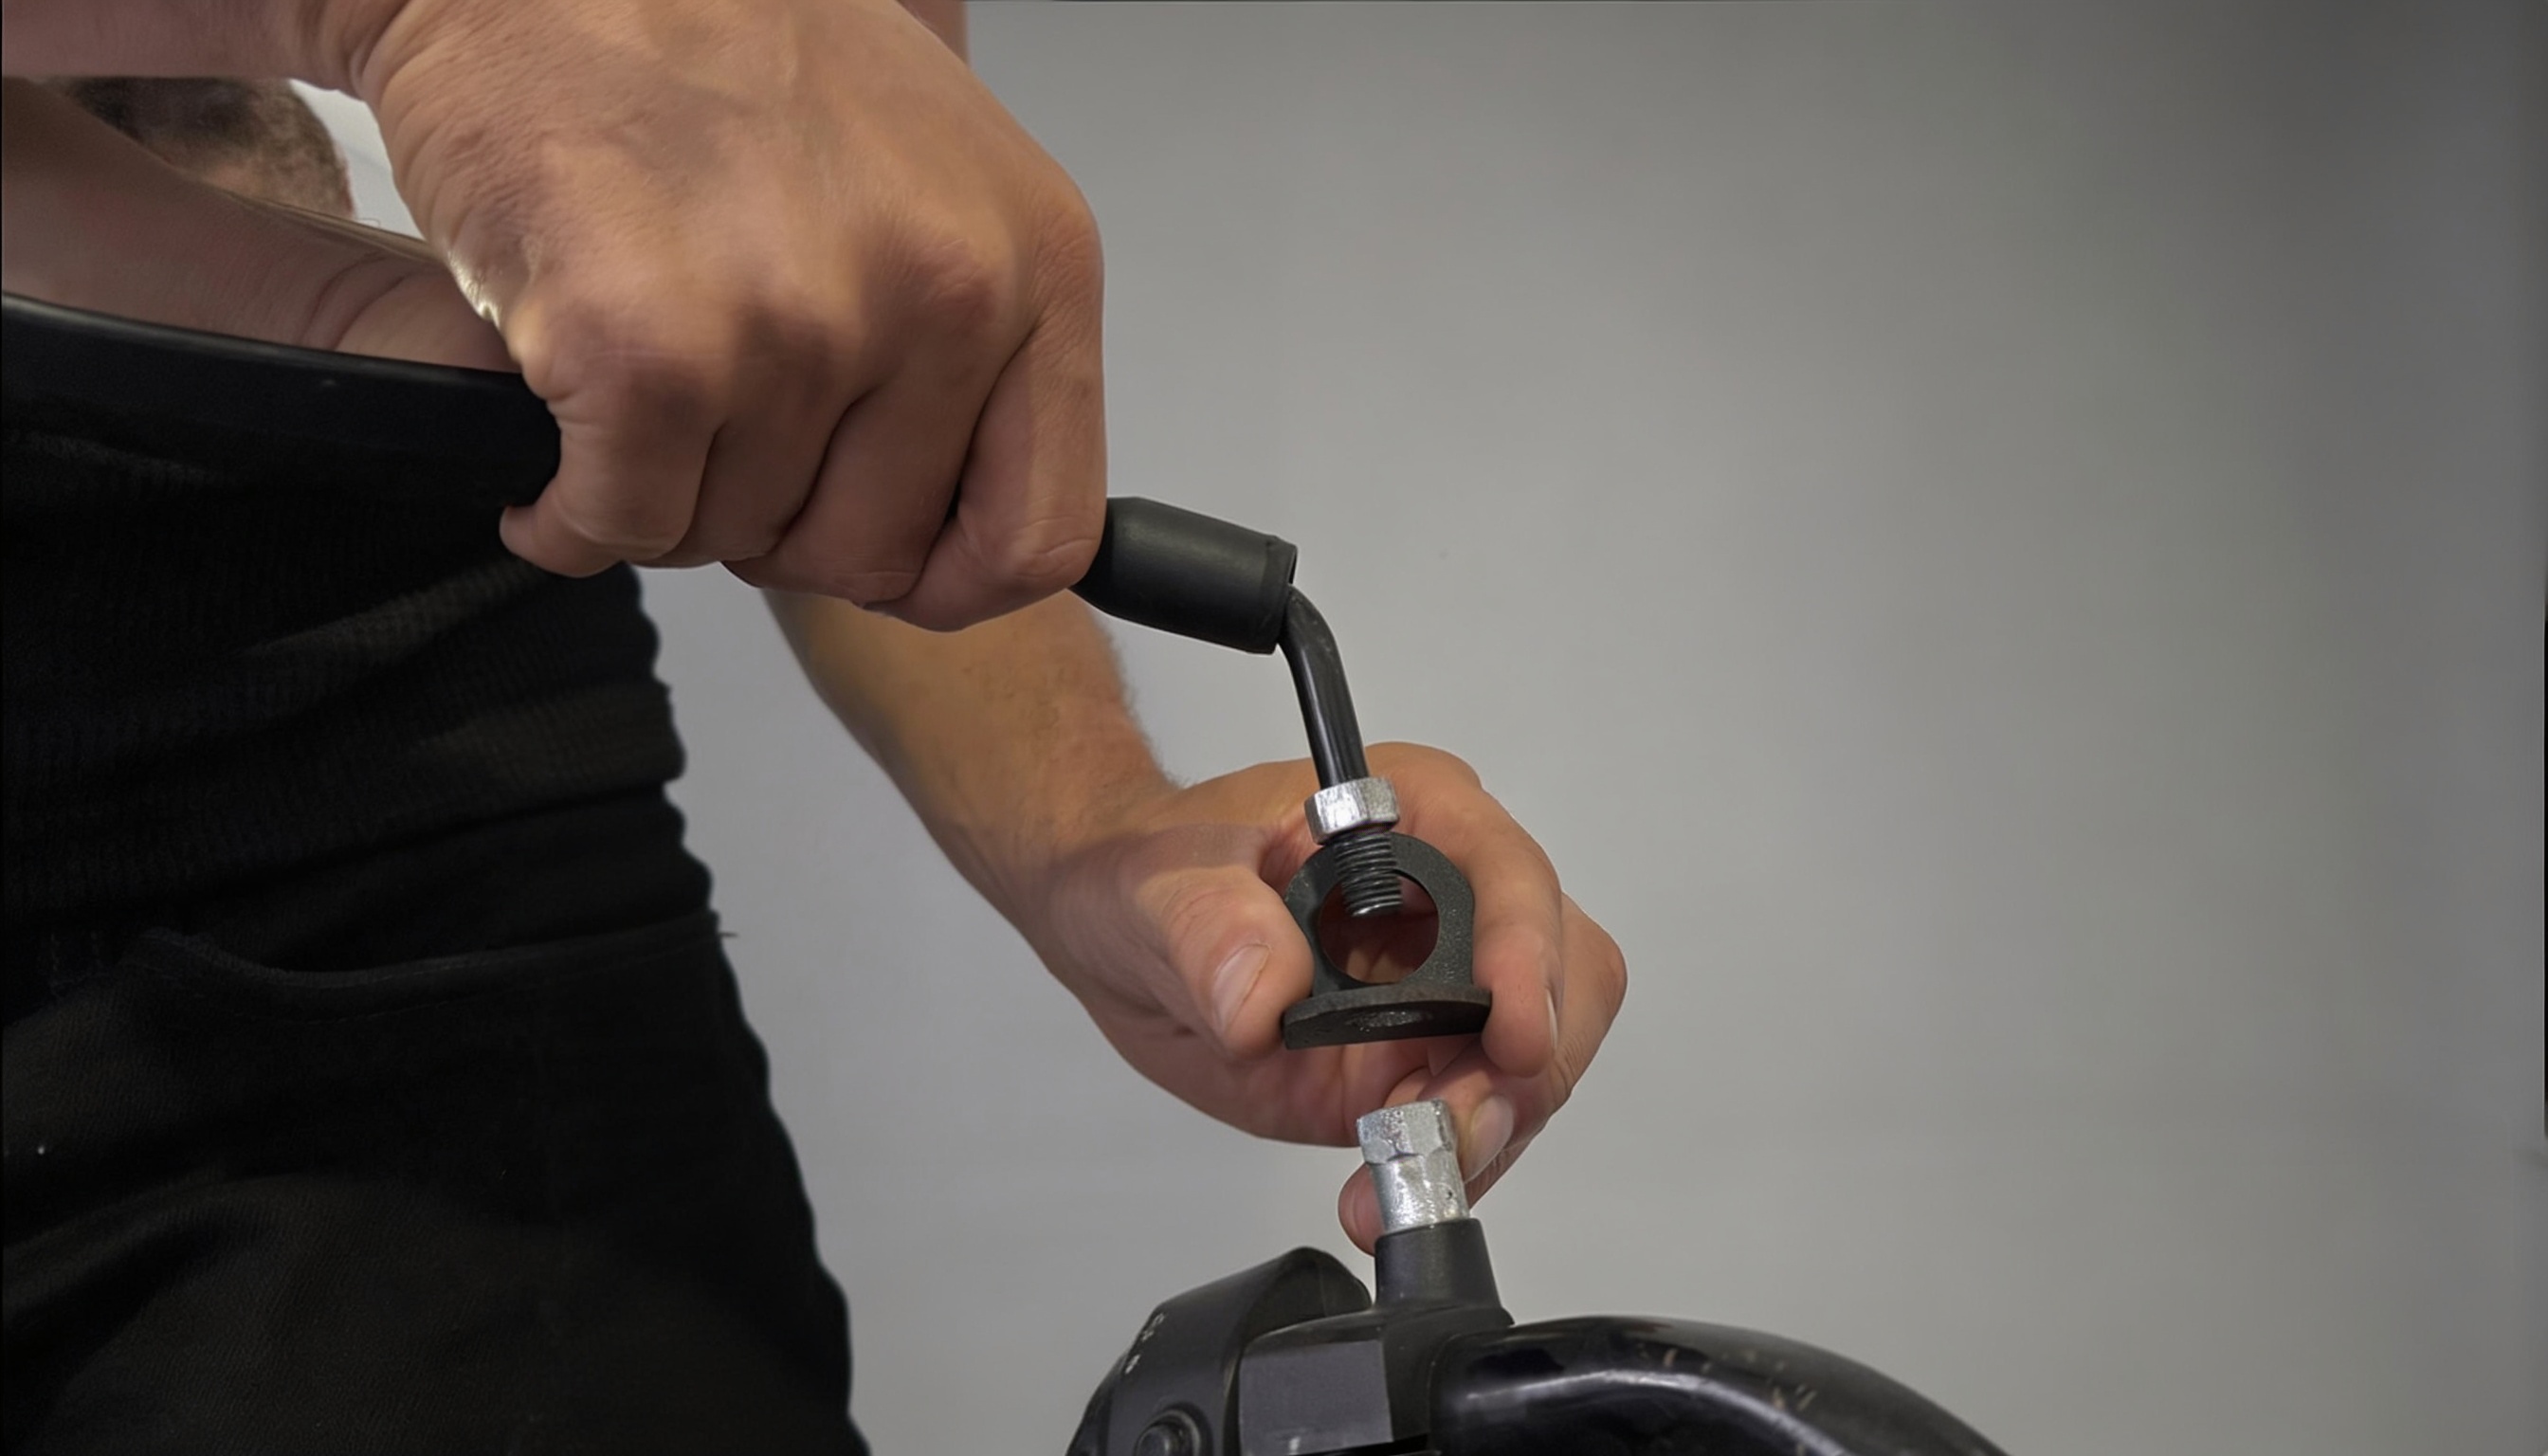
Drop the universal bracket into the mirror’s mount hole. Screw your mirror back in through the bracket. Snug it tight with the wrench.
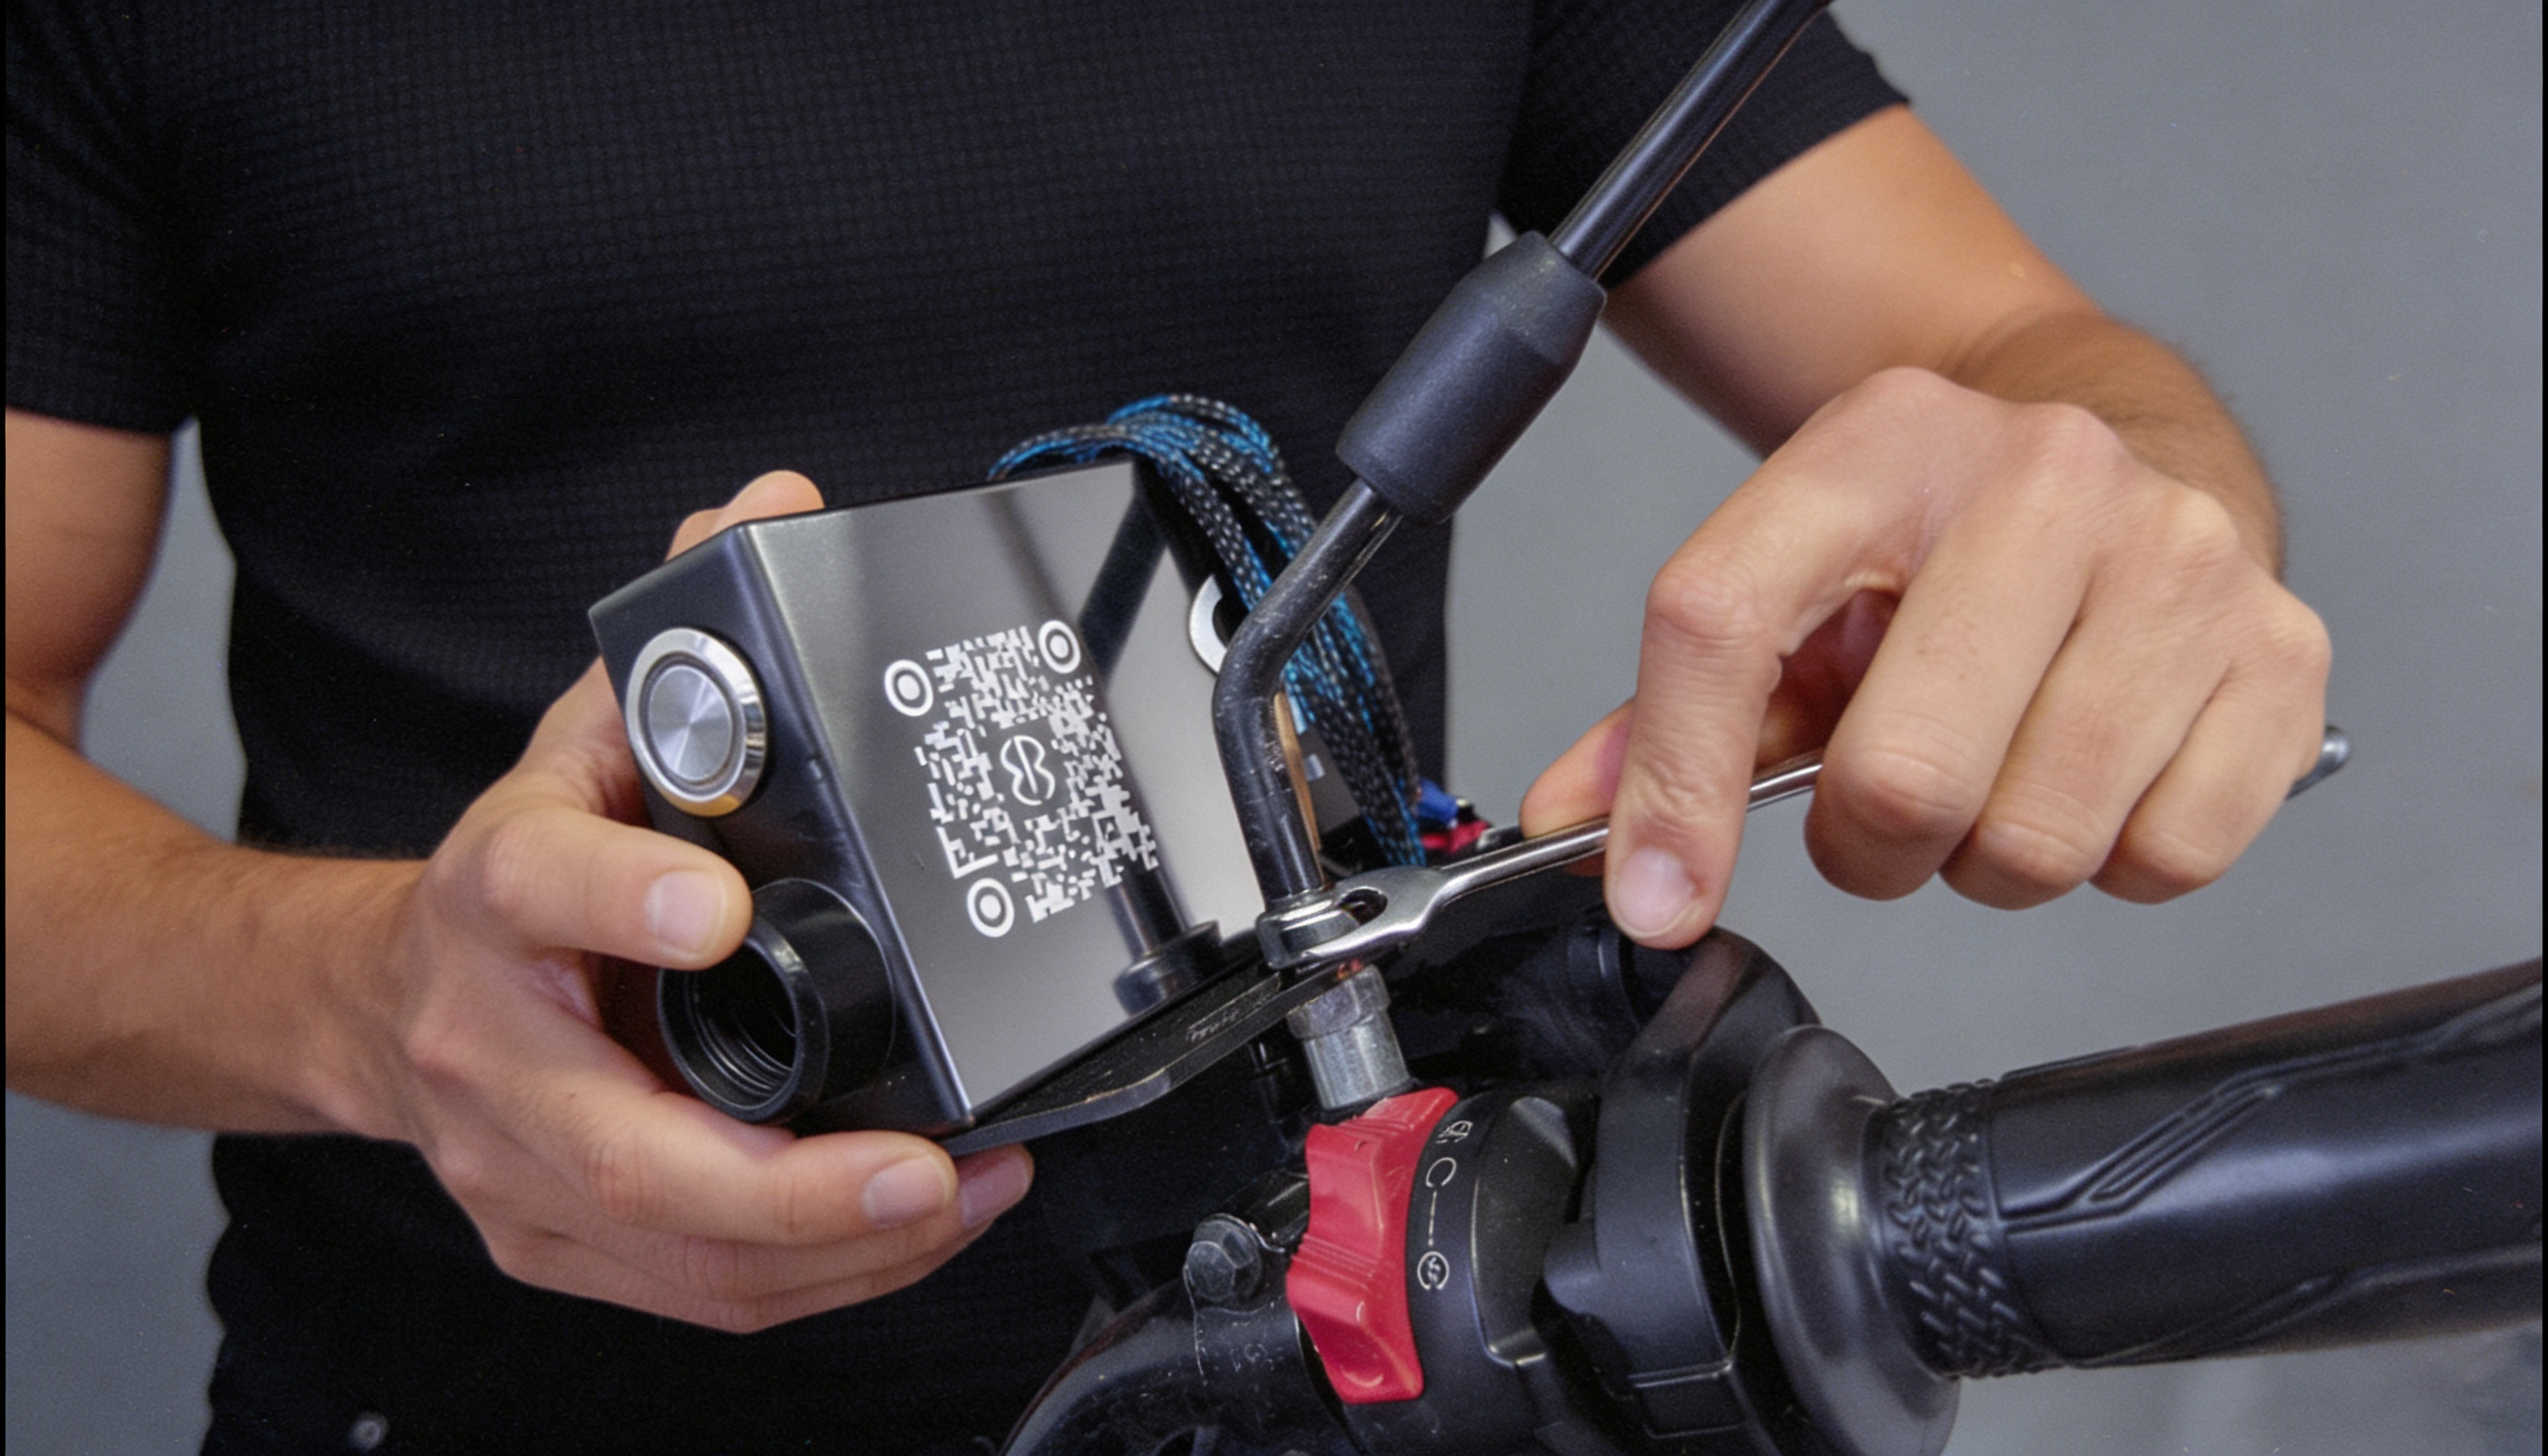
Slide the Easi Breezi filter unit into the bracket cradle. Tighten the two lug nuts on the side — finger-tight is enough. You’ll hear it click into position.
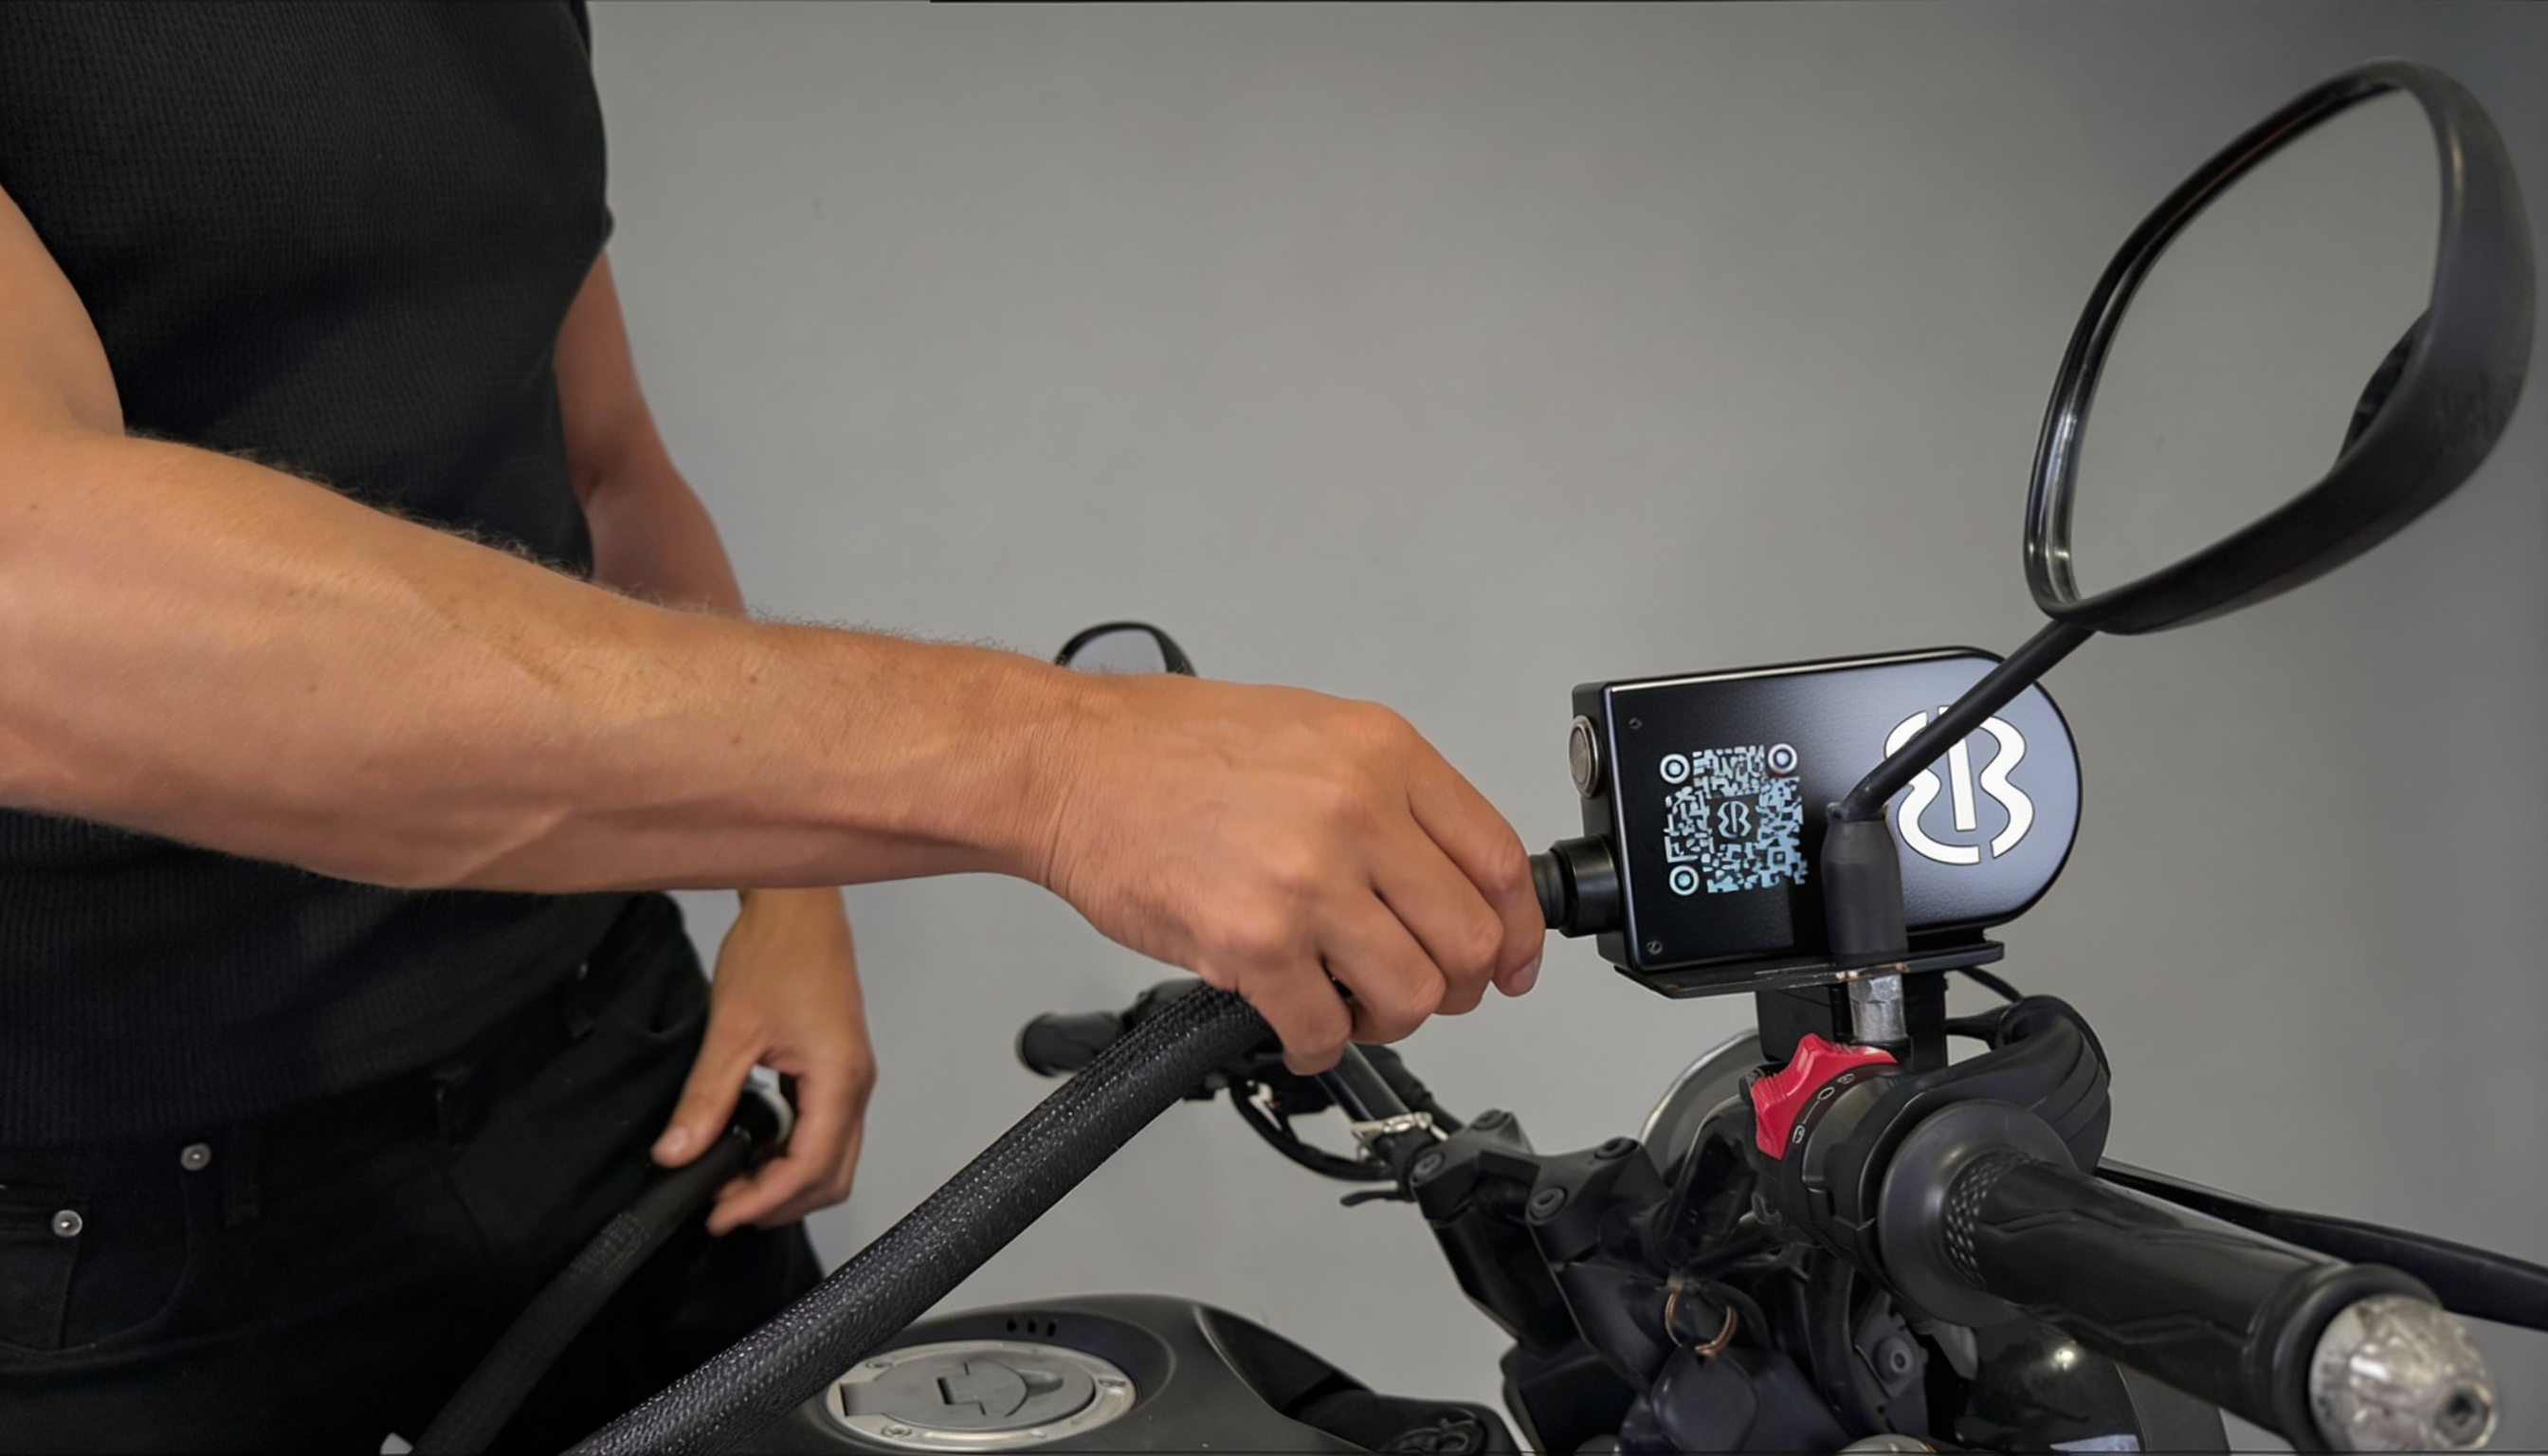
Push the medical-grade tube into the air outlet, just below the silver button. The tube clicks when seated. The other end clips magnetically to your helmet — covered in part 2.
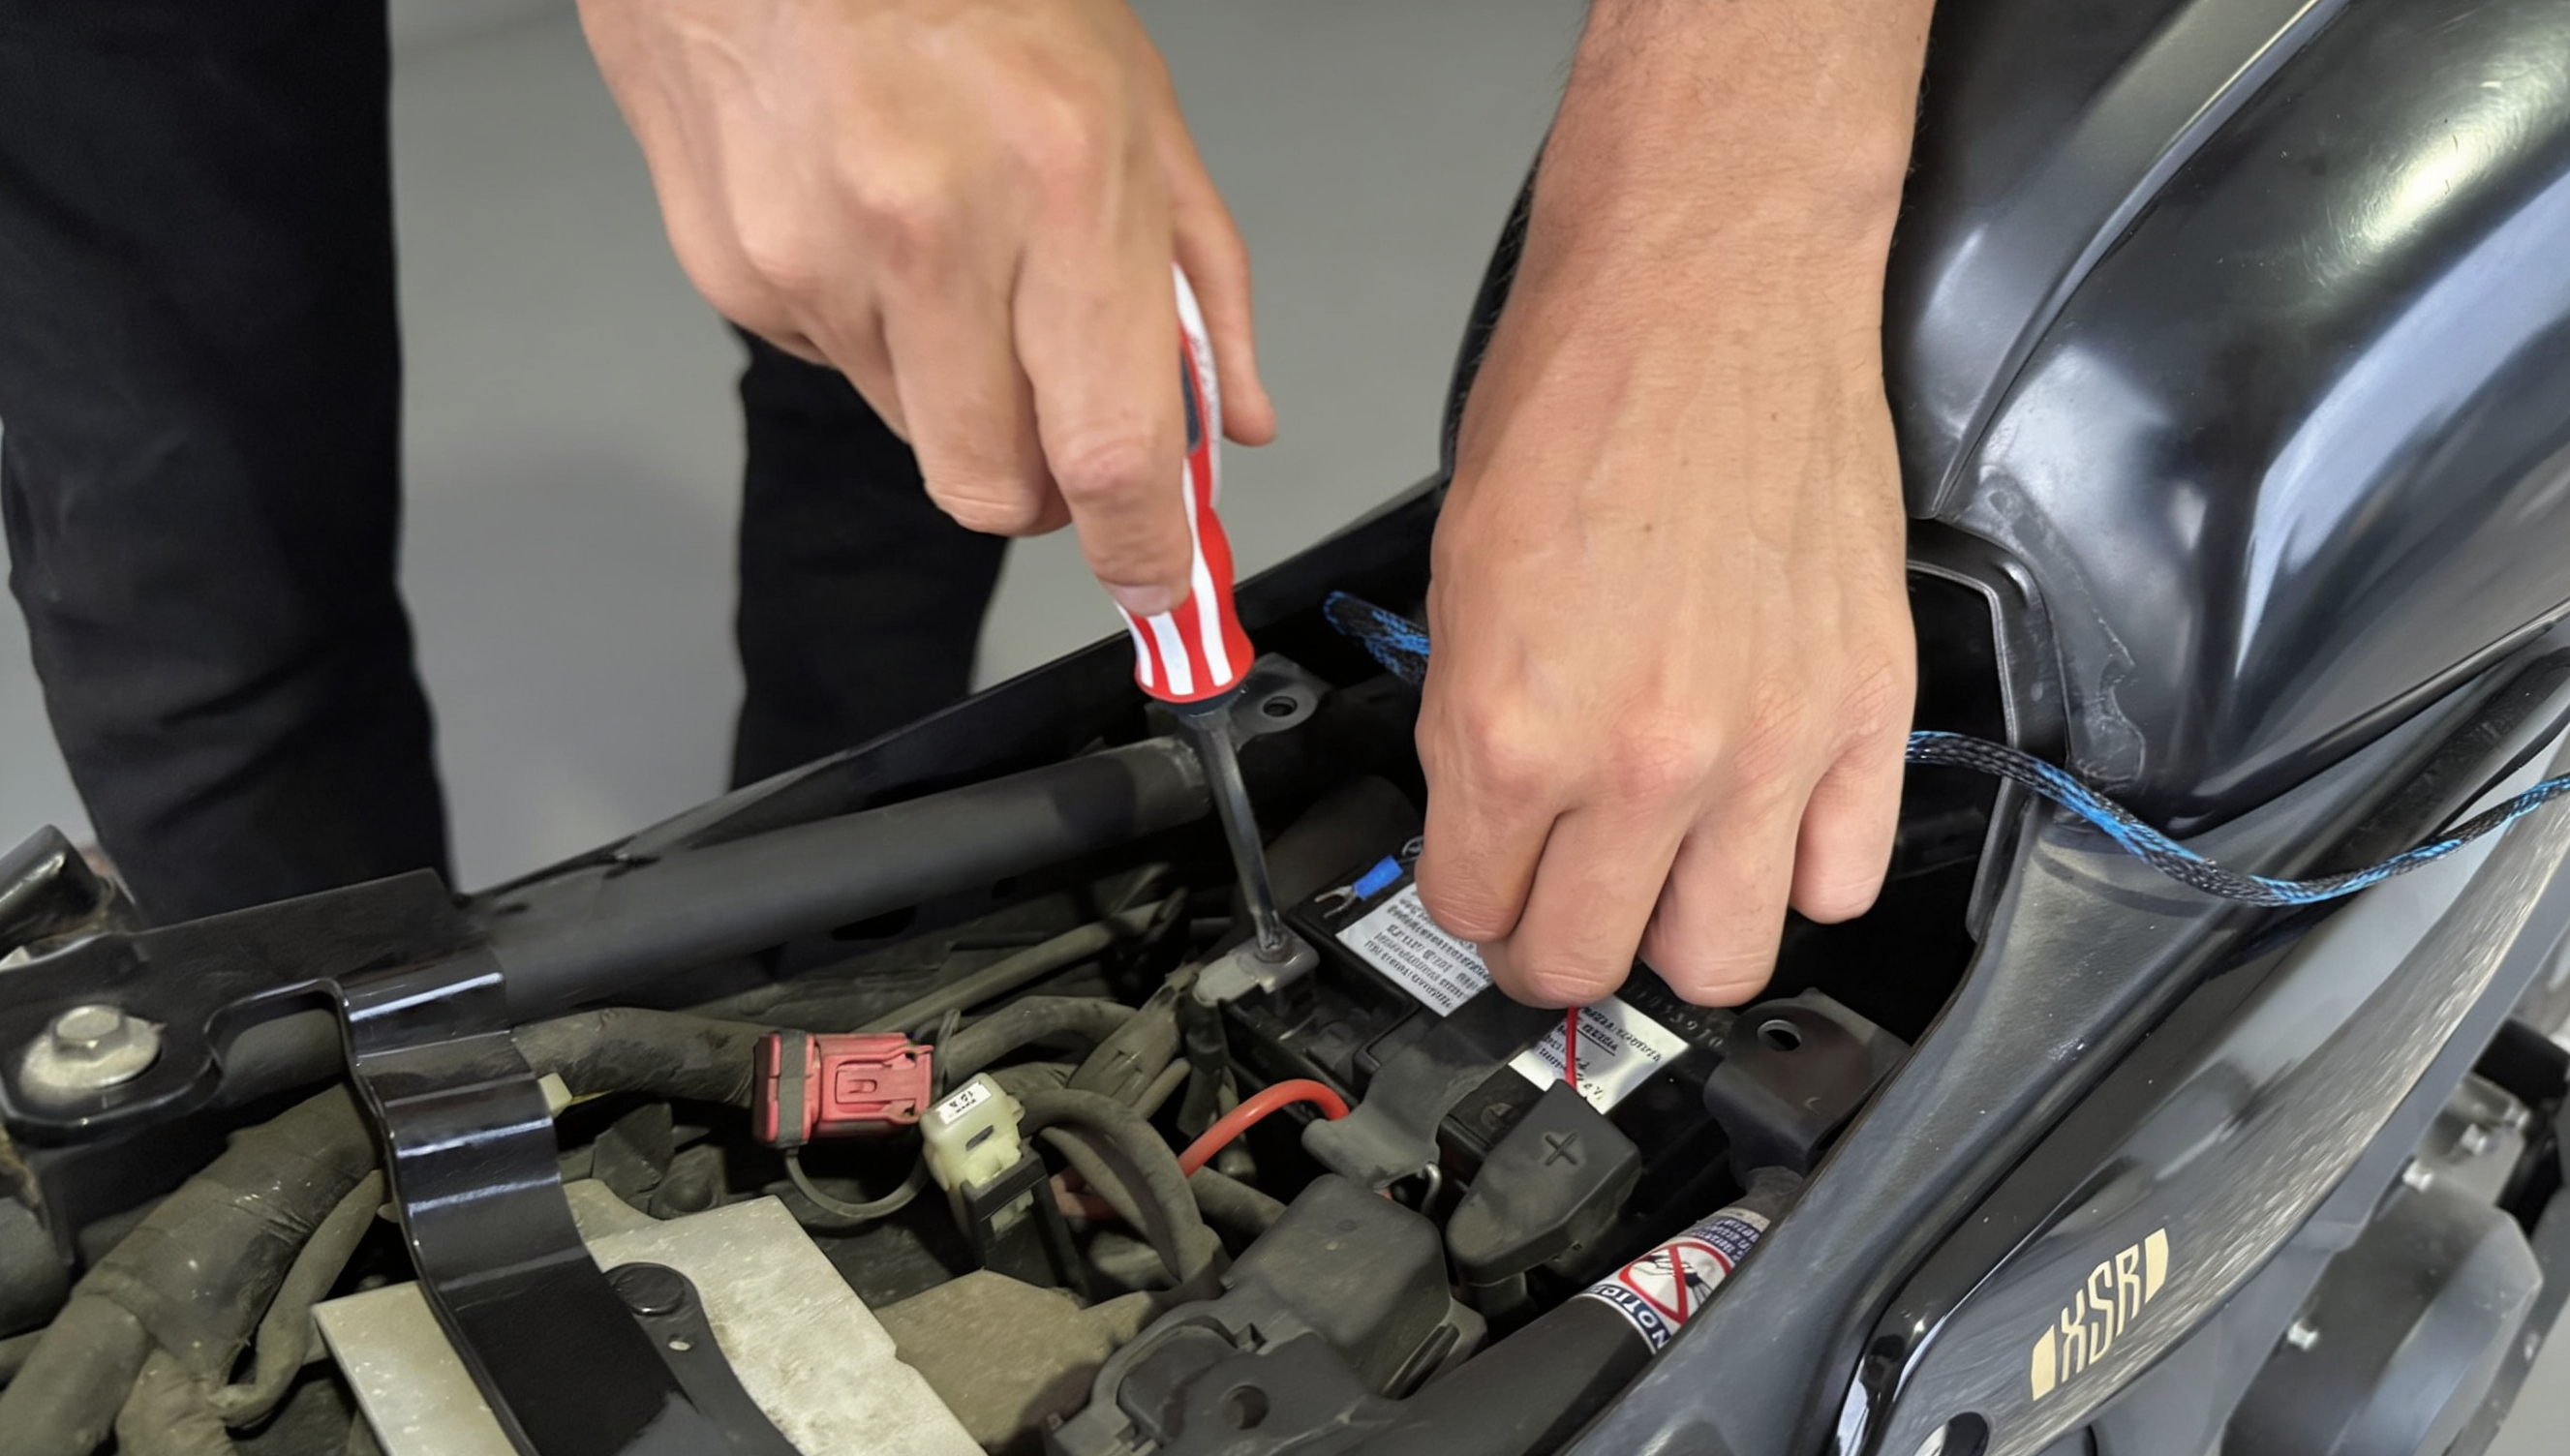
Run the two leads to your bike’s battery terminals — red to positive, black to negative. The unit powers on with your ignition. No charging. No batteries. Unlimited runtime.
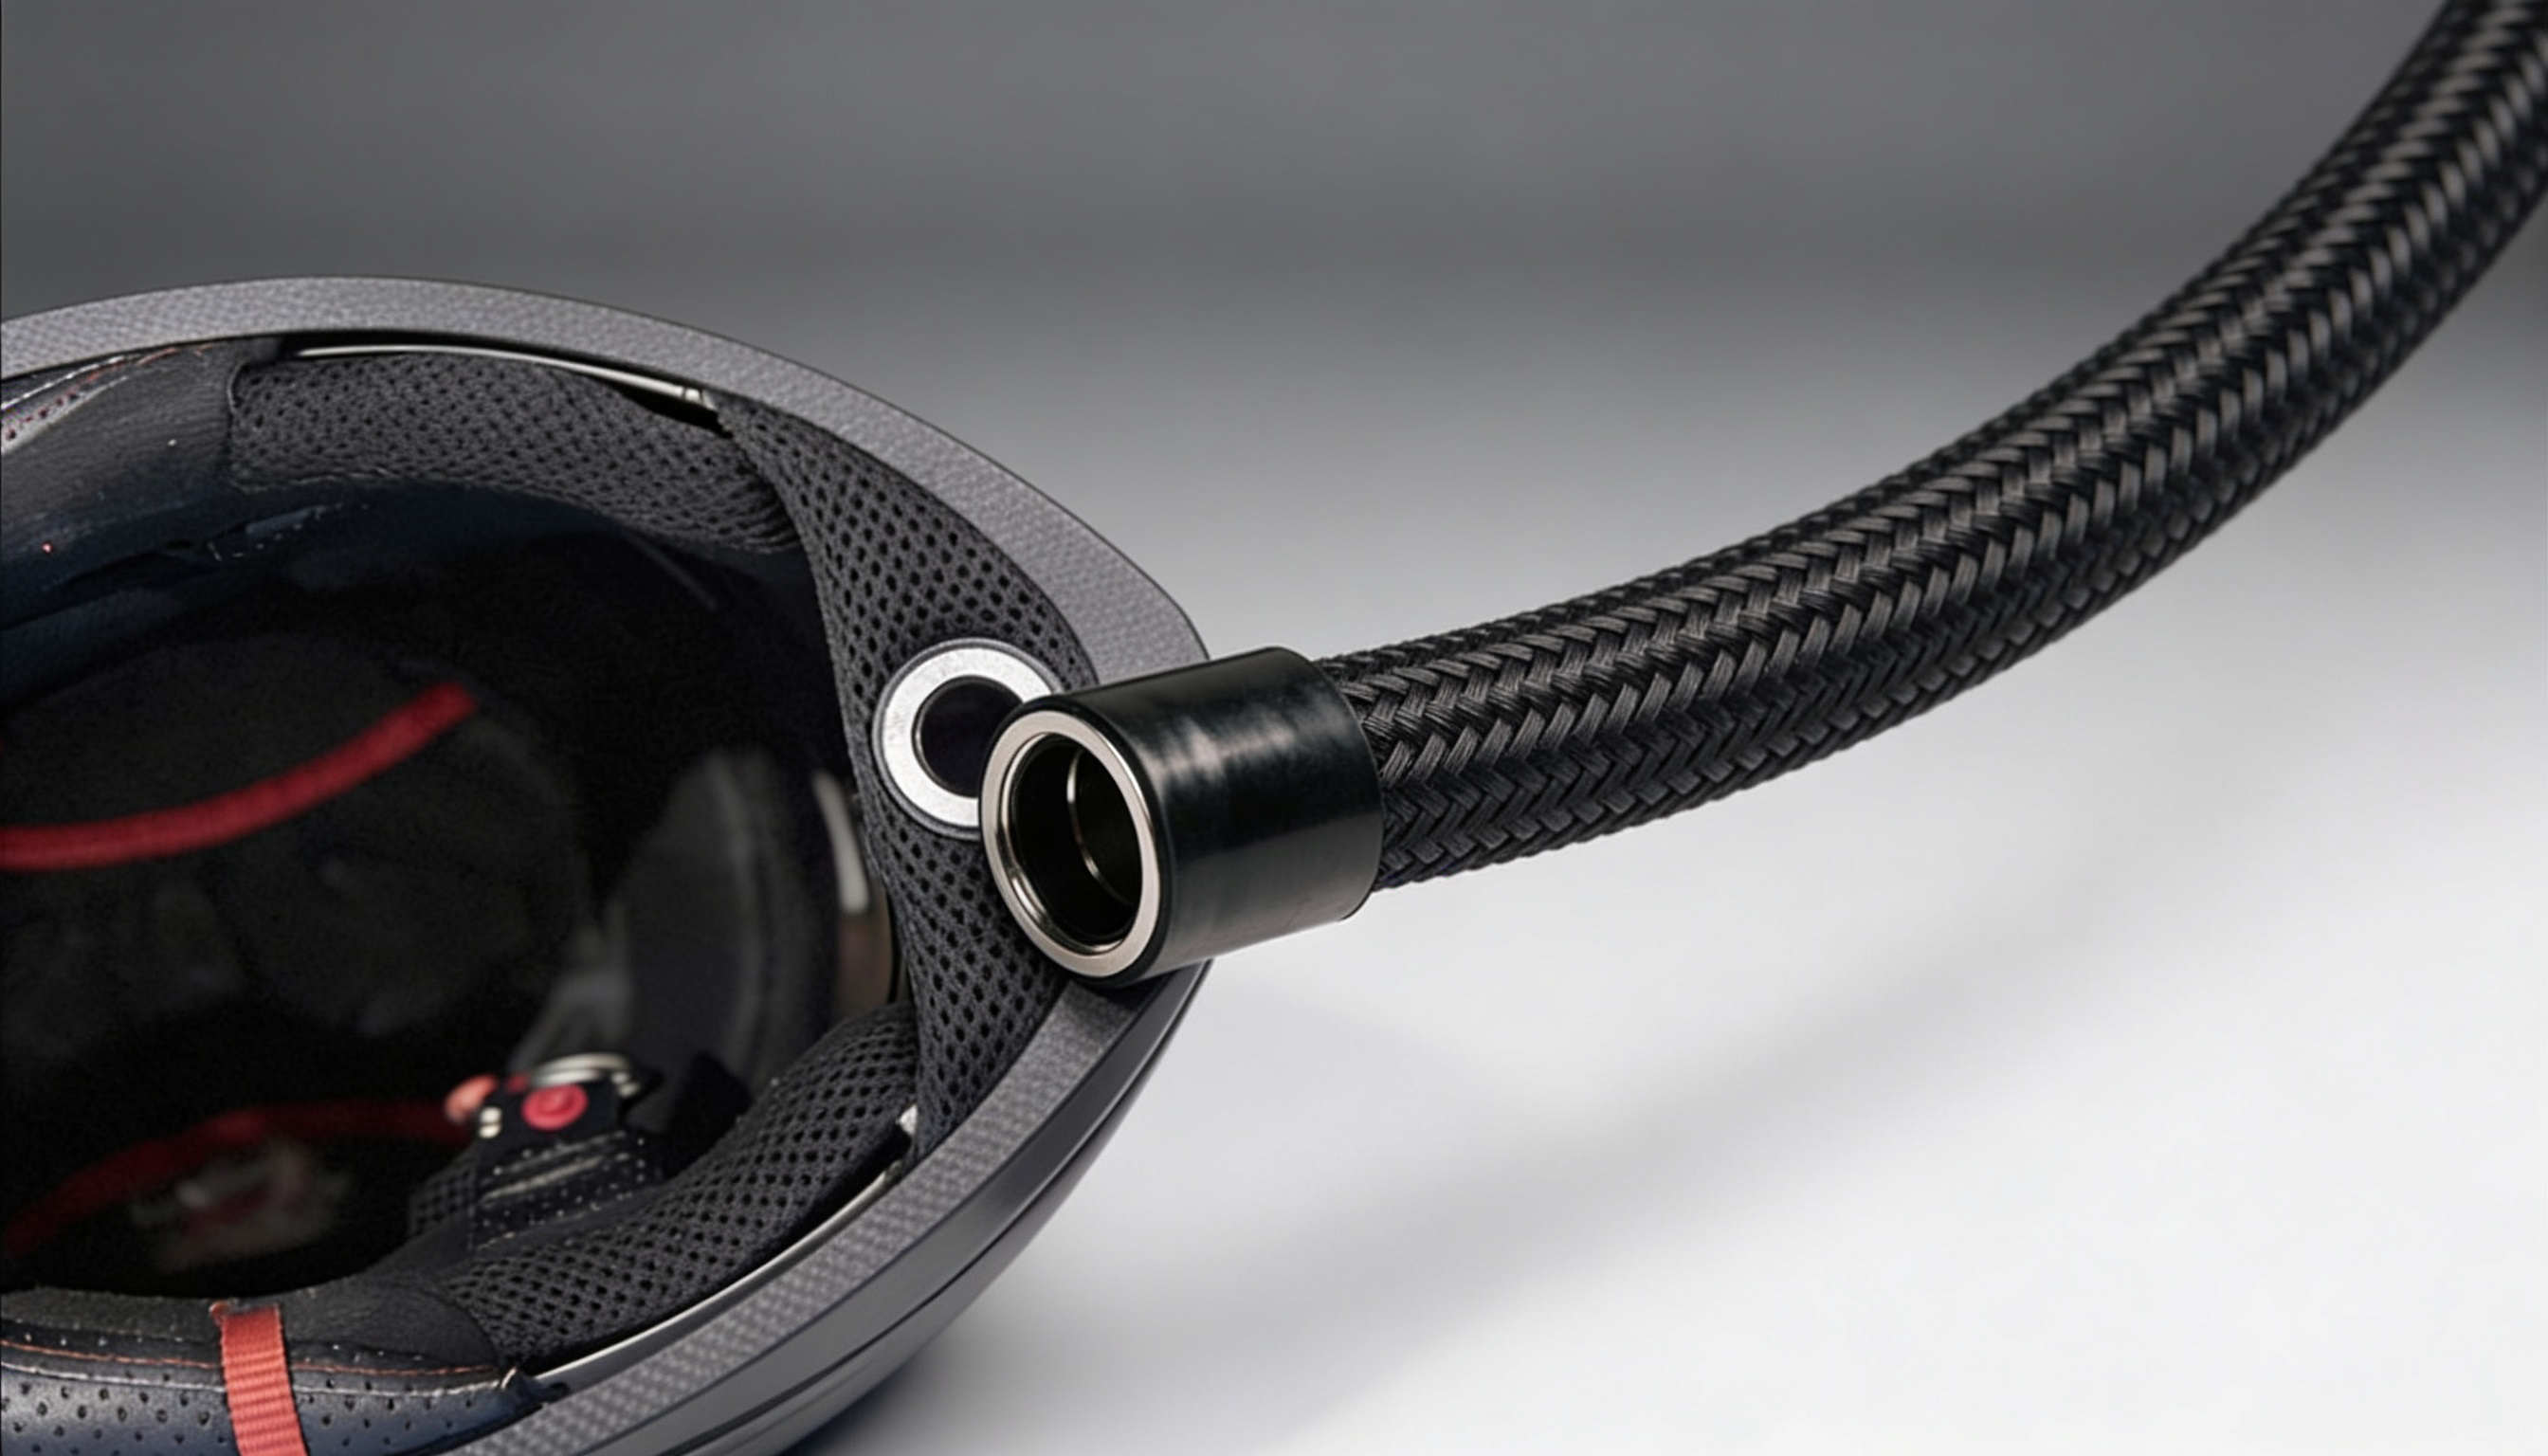
One-time install. From now on, all you do is clip the helmet end on in five seconds before you ride. Next: the helmet side ↓
One-time stick. Cures in two hours. Works on full-face, half-face, modular, open-face, ADV and bubble-visor helmets.
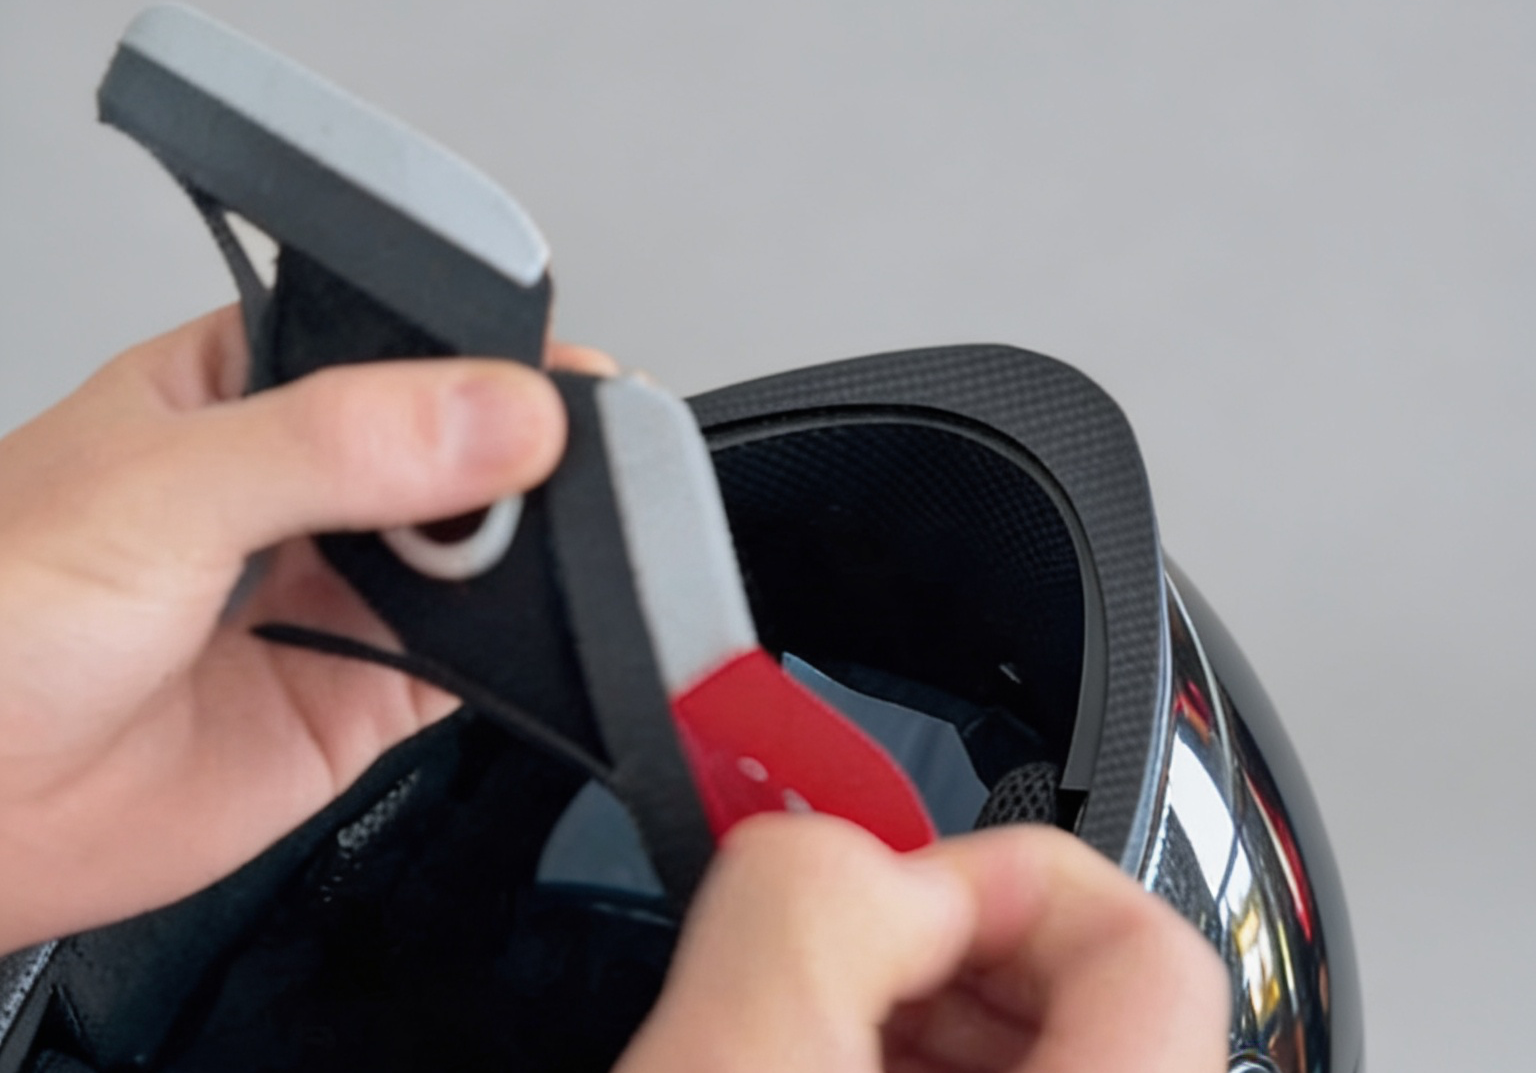
Remove the protective film from the magnetic plate. Don’t touch the adhesive side — surface oils weaken the bond. Wipe the helmet area with the alcohol pad included in the box.
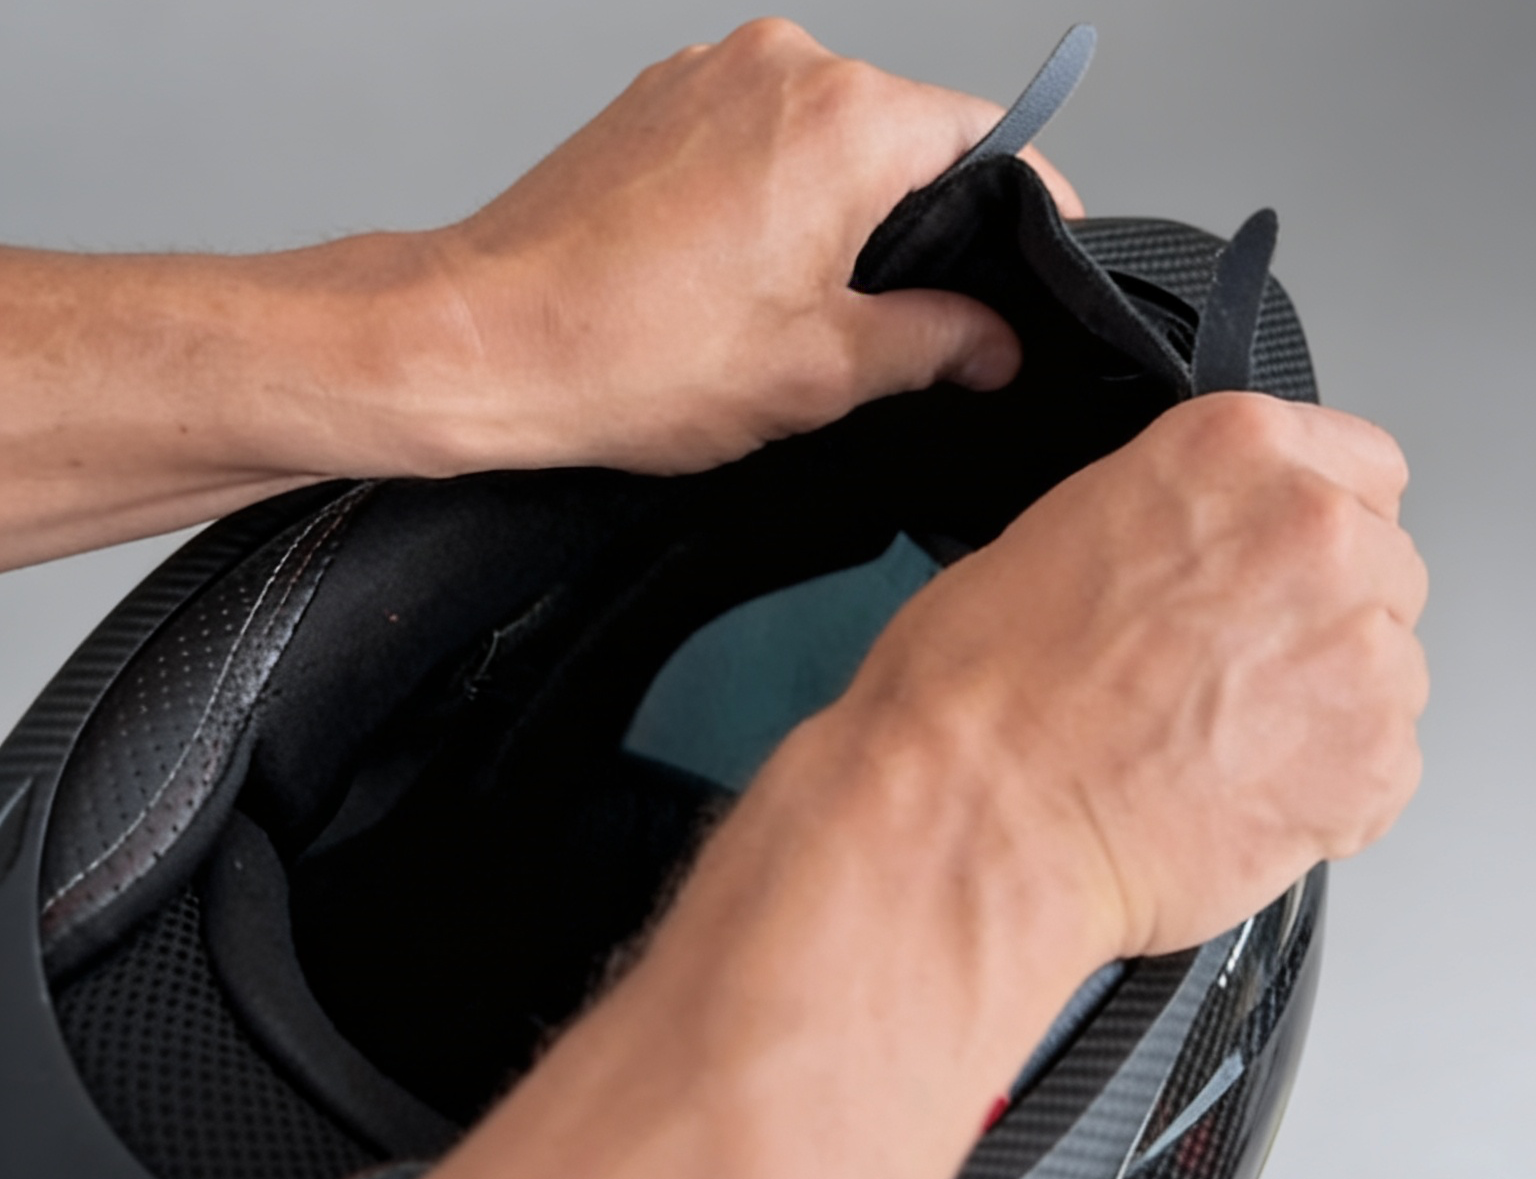
Position the magnet centred under the chin guard of your full-face helmet. Press firmly for thirty seconds. The 3M VHB adhesive reaches full strength after two hours — don’t ride before then.
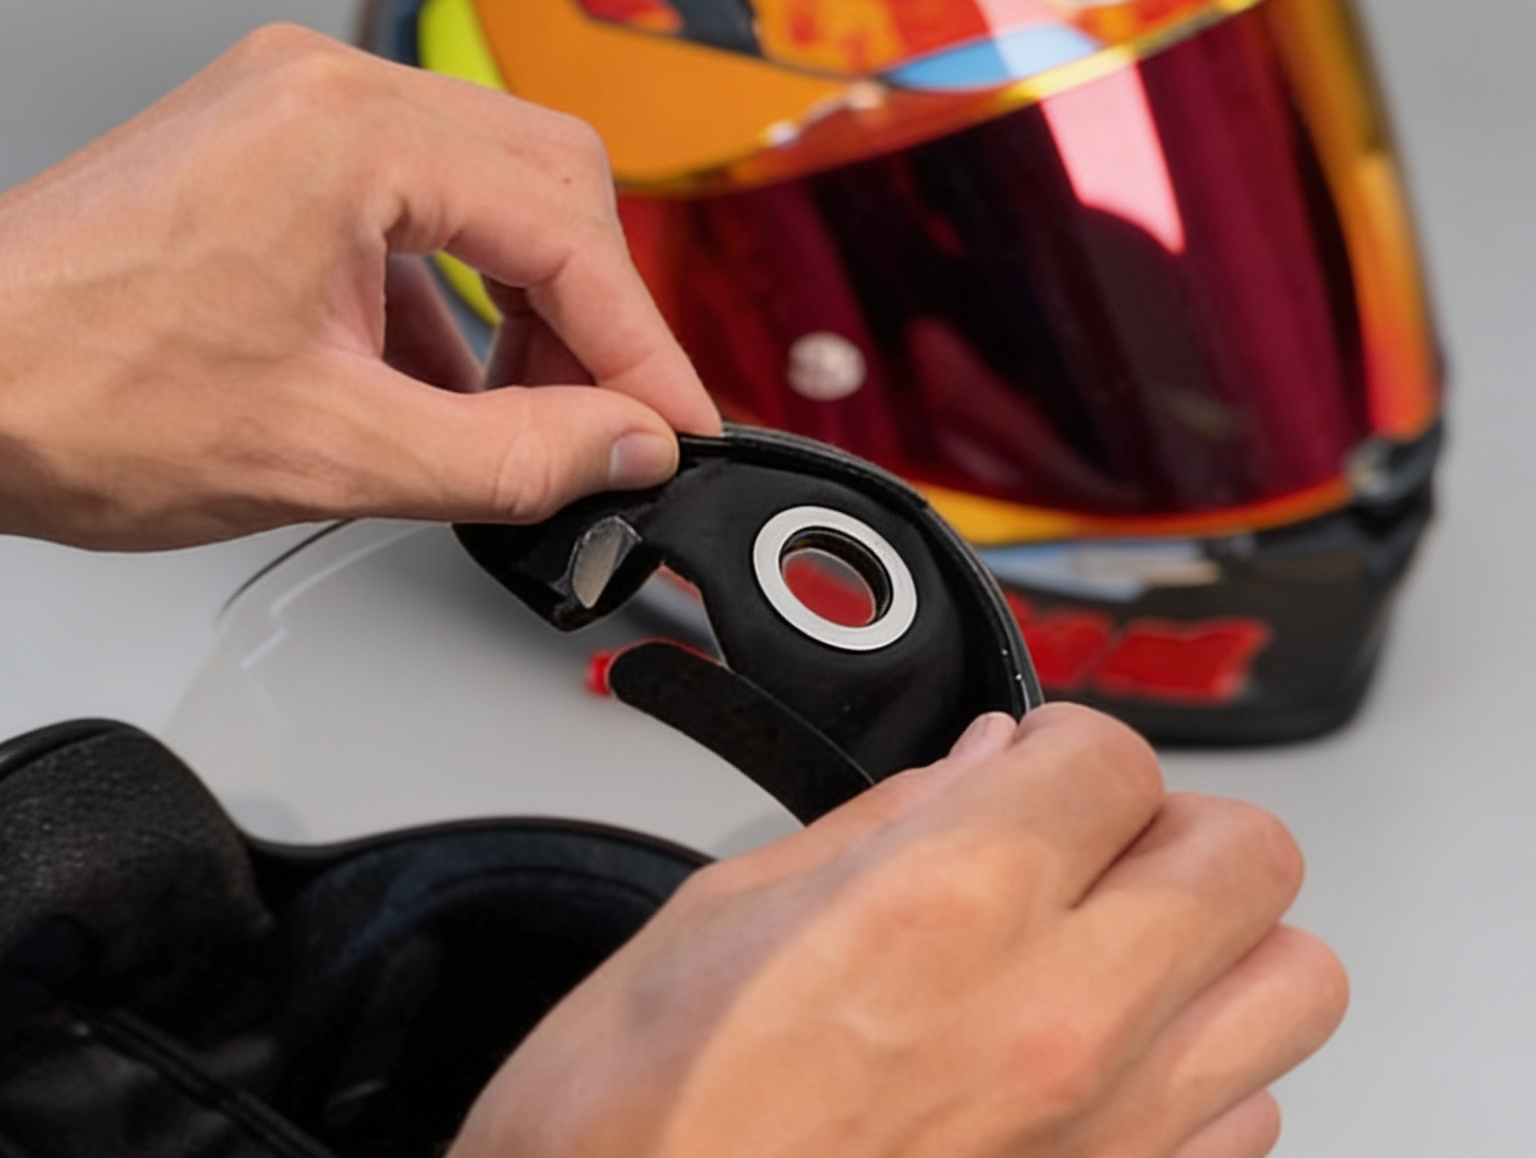
For half-face, modular, open-face or bubble-visor helmets, press the magnet to the underside of the visor instead. Same thirty-second press, same two-hour cure.
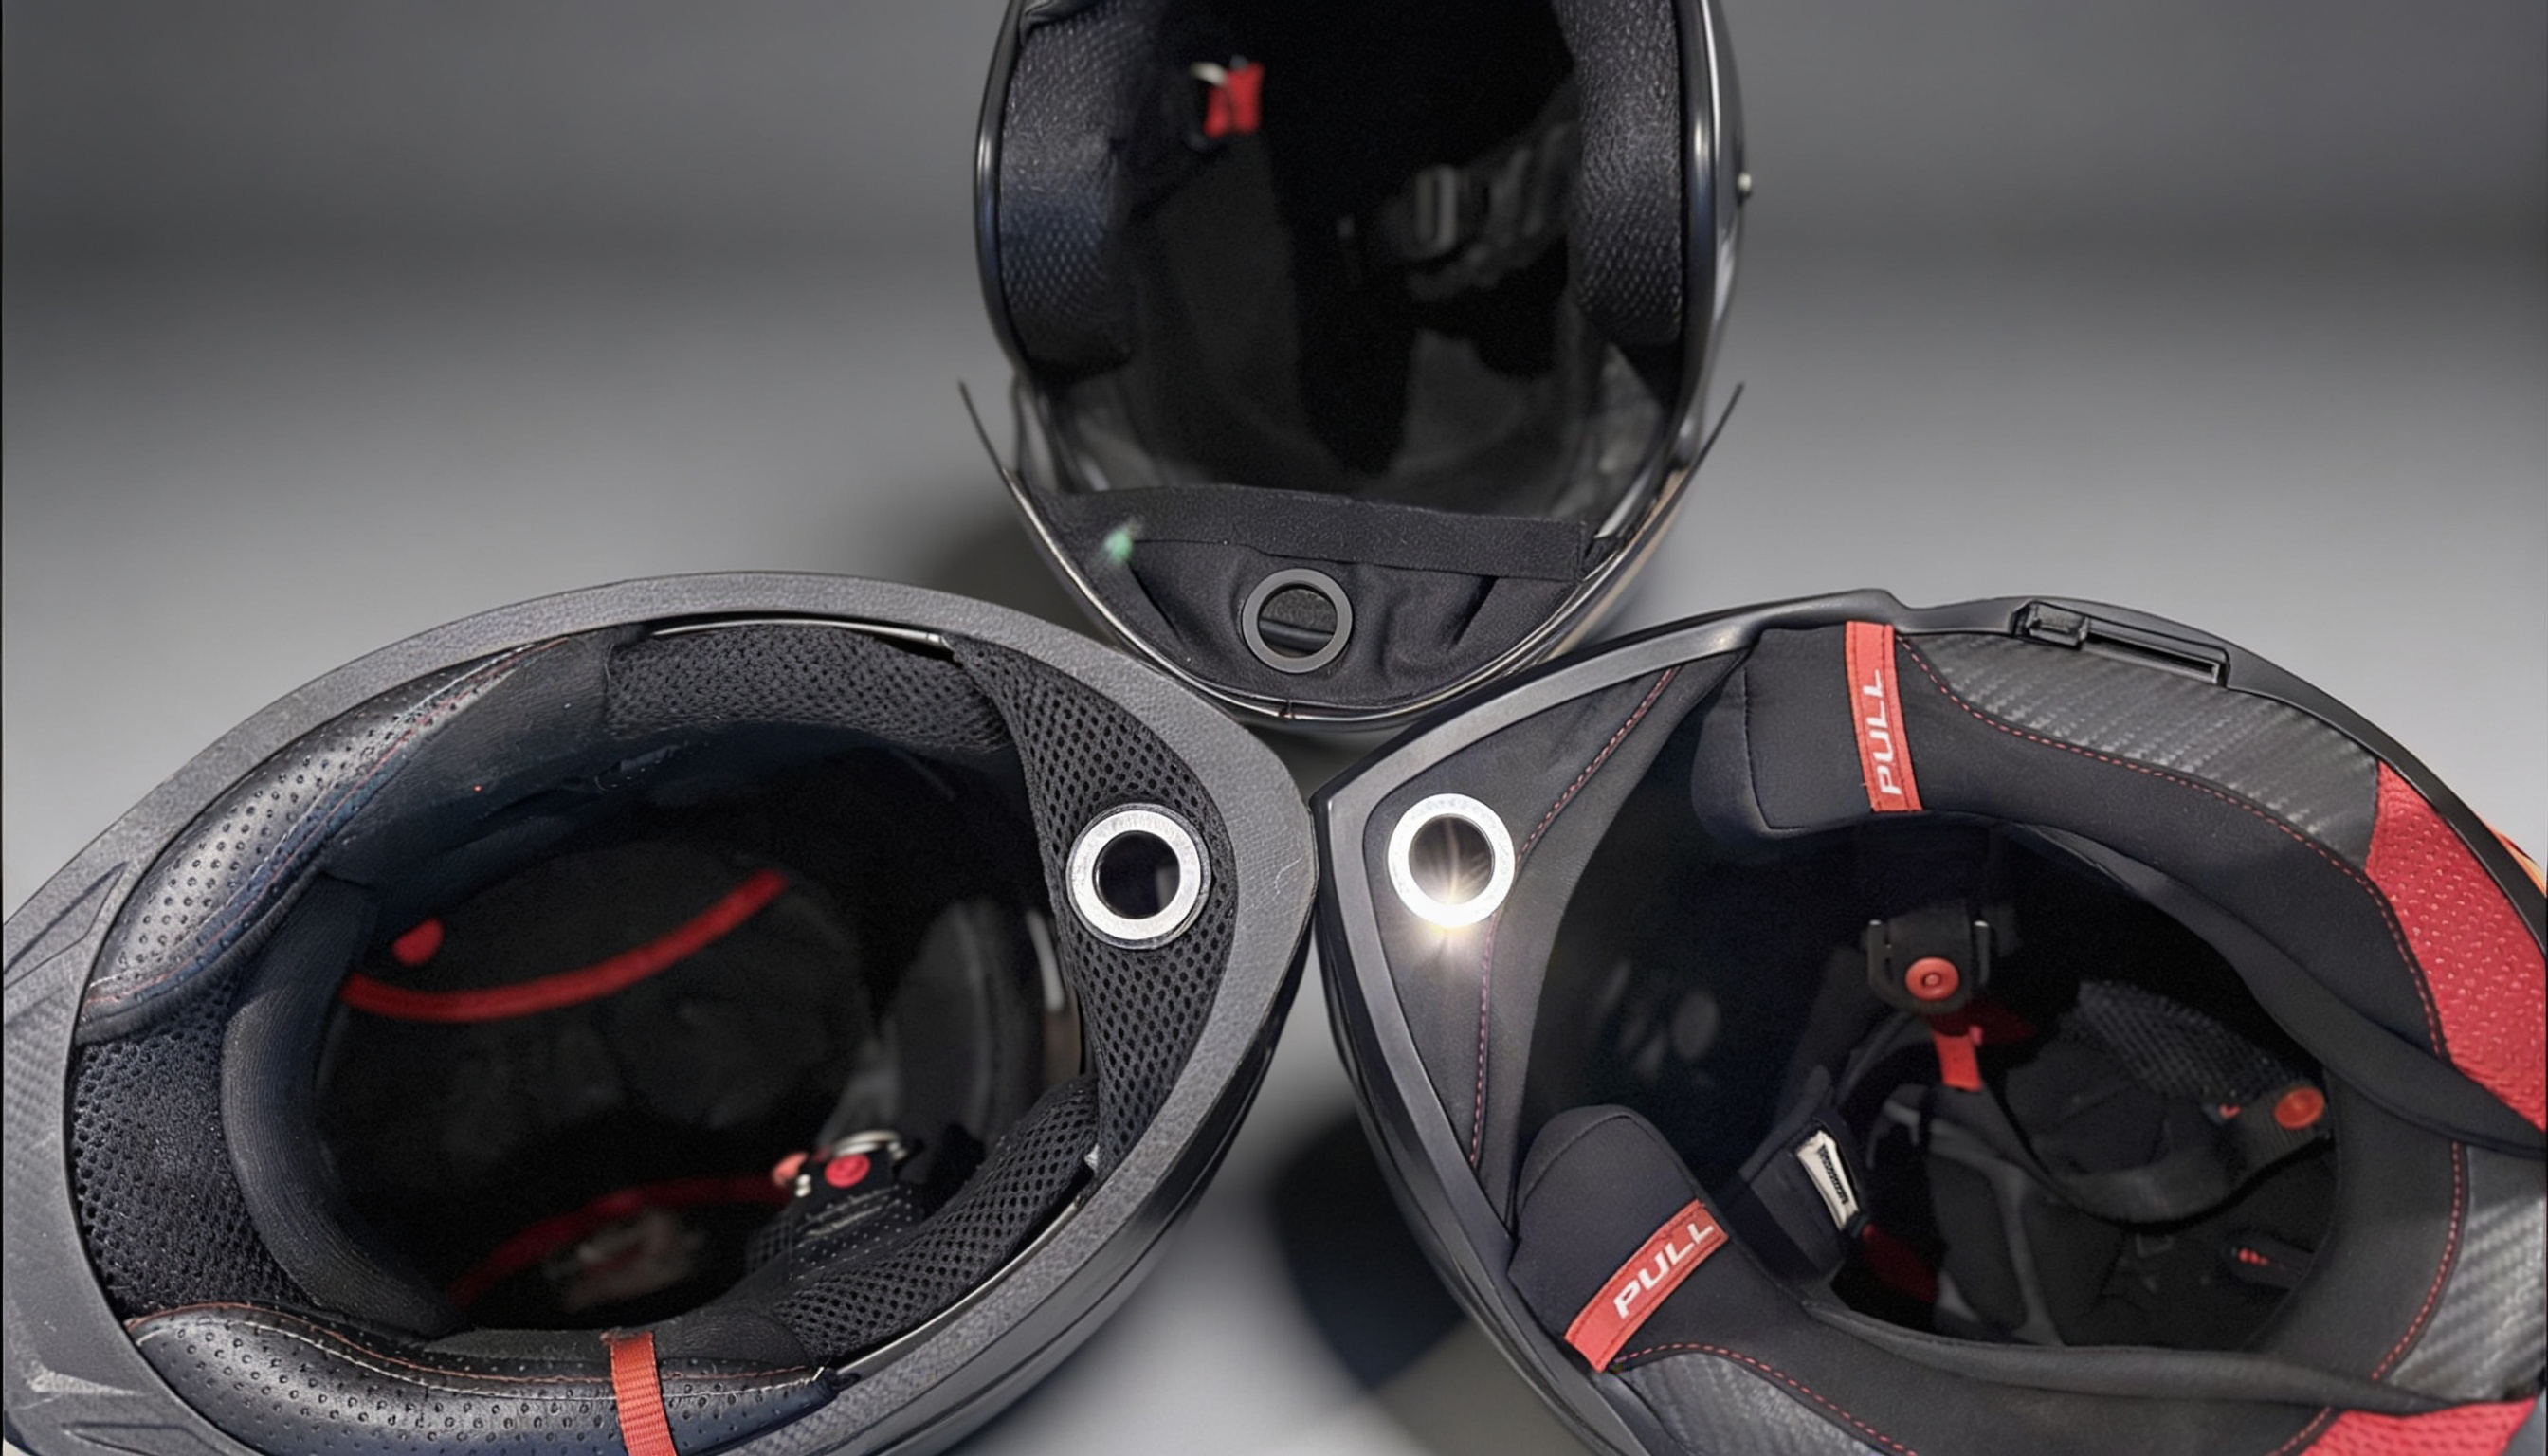
A clean, flush plate. No air gap. No tilt. If it looks like this, you’re set. If it doesn’t, peel and reposition within the first thirty minutes.
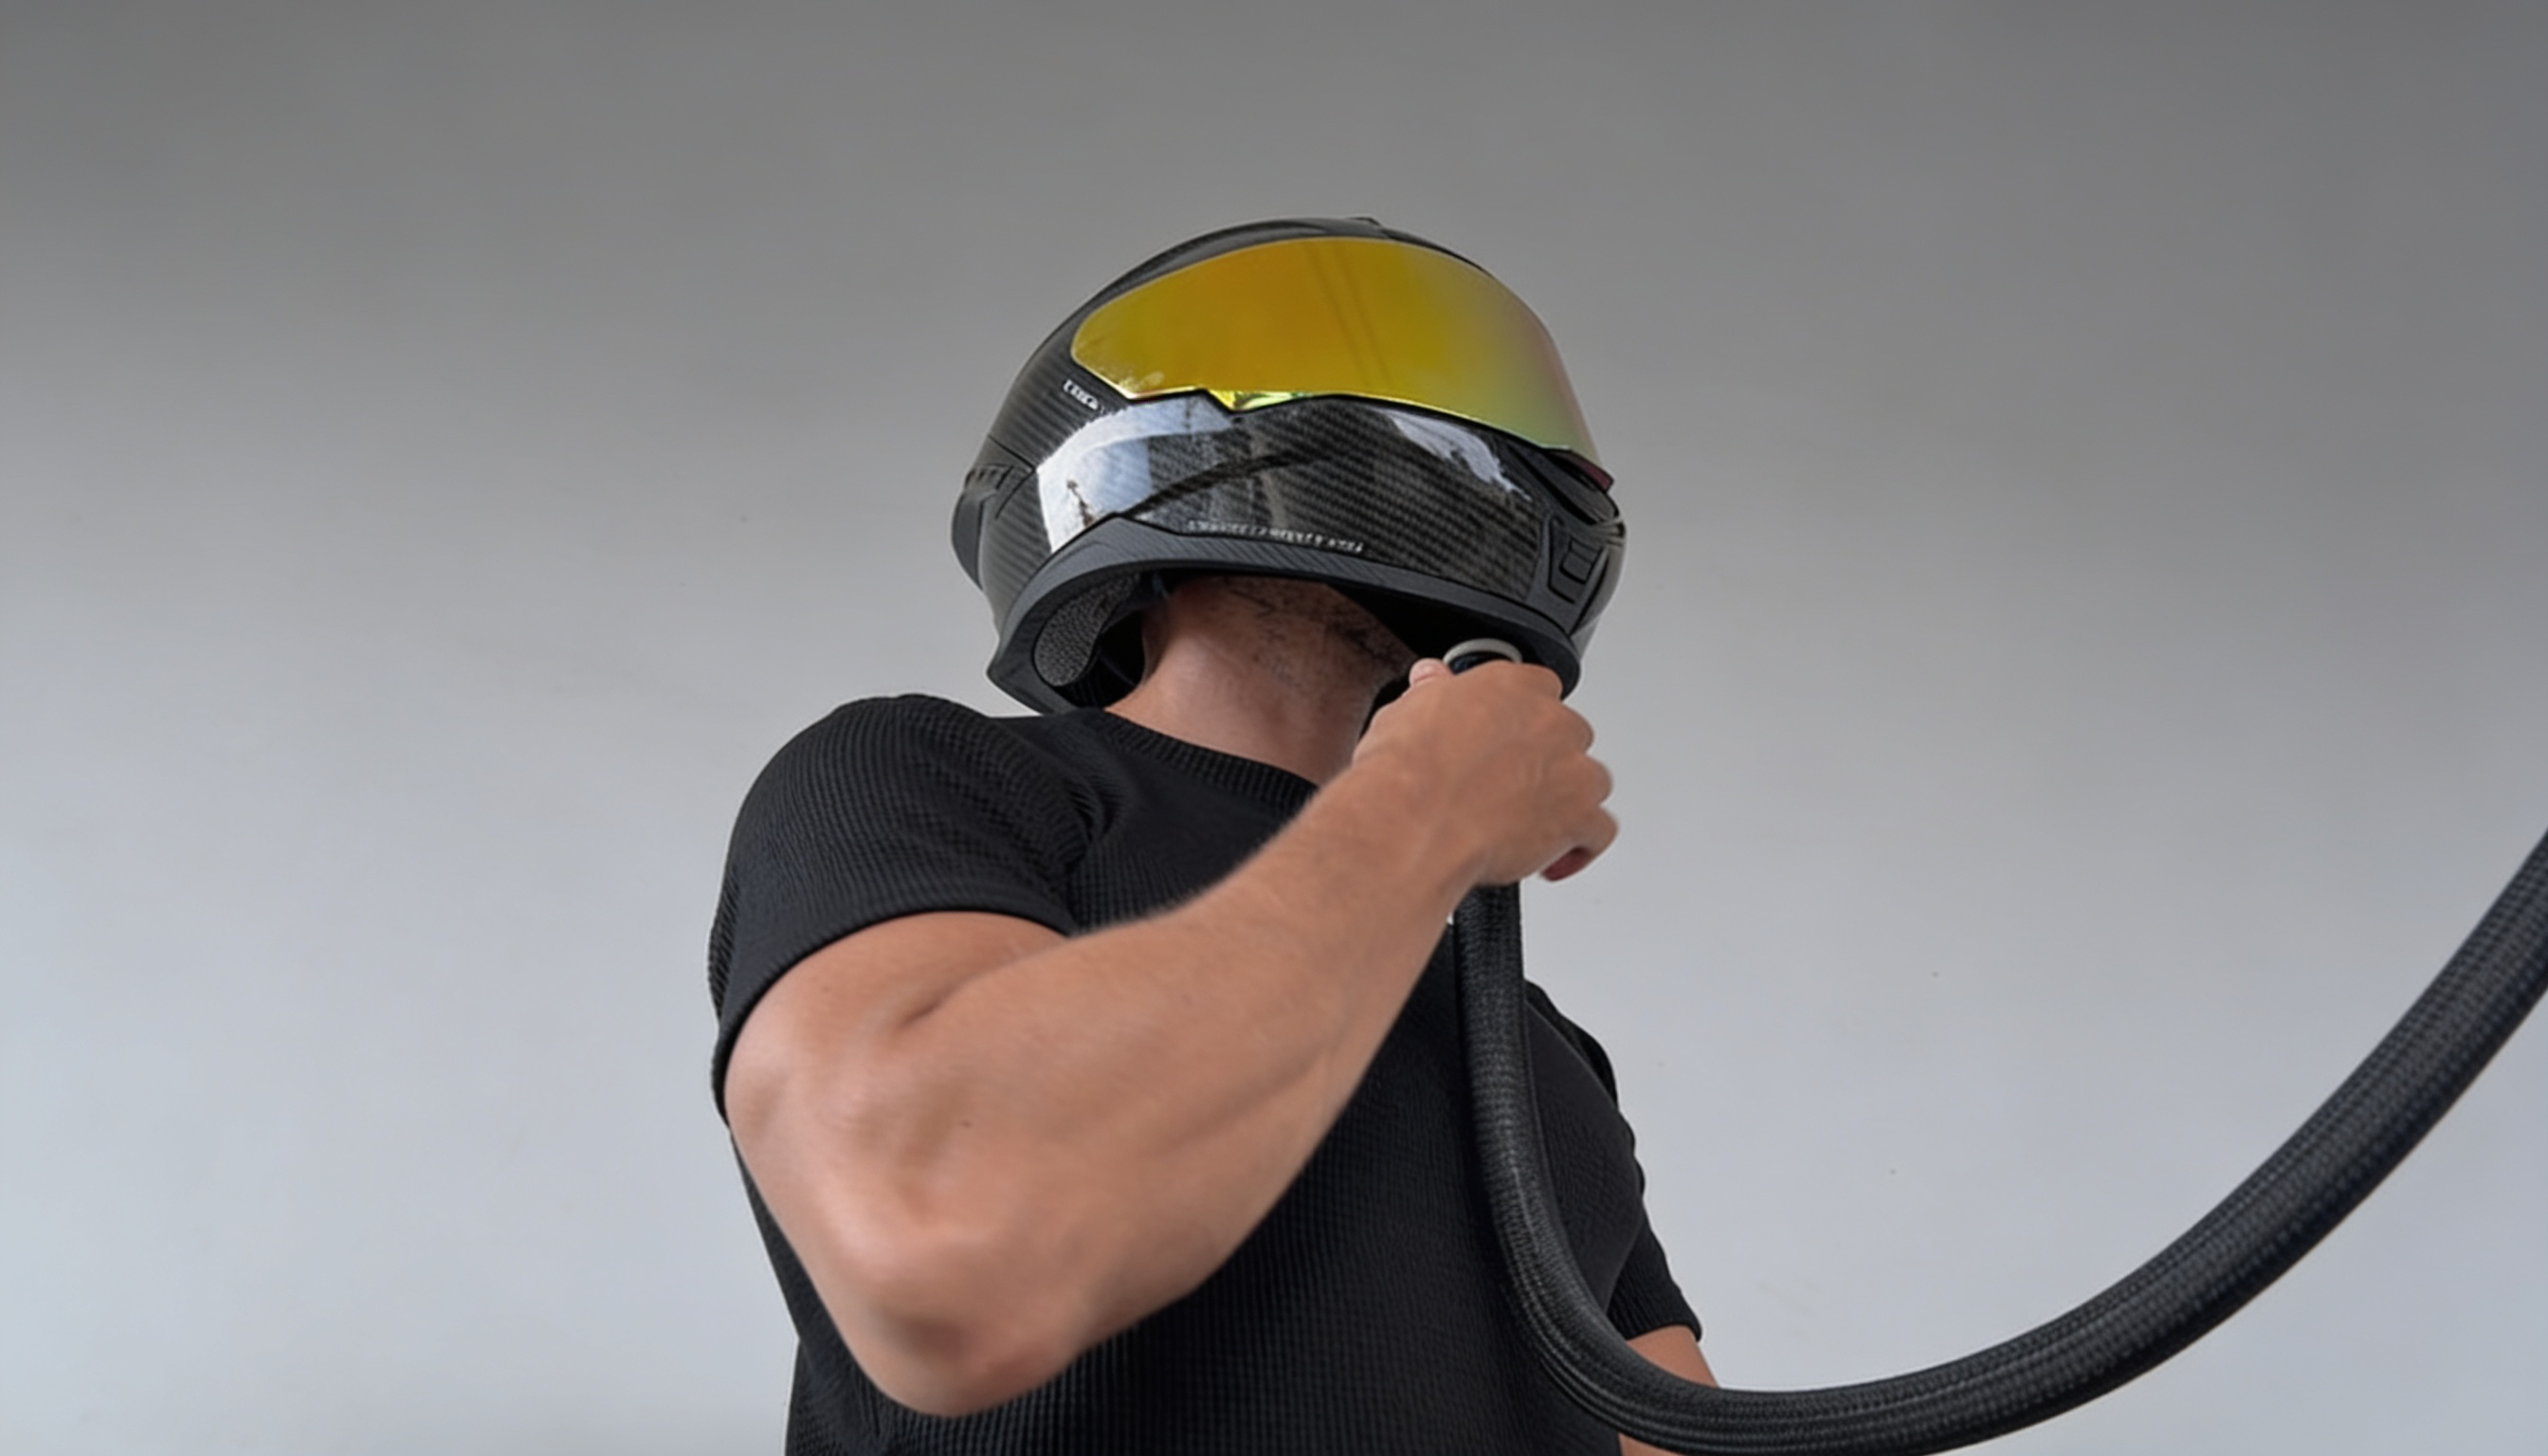
Bring the magnetic tube end up to the helmet plate. It self-aligns and locks with a satisfying click. To remove, just pull — the magnet releases cleanly every time.

That’s it. From now on, every time you put your helmet on: snap the tube to the plate, turn the key, ride. Cool, filtered air for the entire trip.
Real install, real bike, no cuts. Plays full-screen.
The universal bracket ships with step-down washers for 8mm and 10mm threads. Drop the right washer in before threading. Around 95% of bikes sold globally are covered without modification.
We ship a handlebar clamp adapter (sold separately, $36.91). Clamps to any 22mm or 25mm handlebar — works for scooters, ADV bikes with crash bars, and bicycles.
Yes. Peel cleanly within thirty minutes. After that the bond is permanent. Every box ships with one spare adhesive plate for exactly this reason. Email solution@easibreezi.com if you need more.
Yourself. The only tool is a wrench you already own. No drilling, no soldering, no zip ties. Wiring connects directly to the battery terminals with the included clamps. If you’ve ever changed a wing mirror, you can do this.
If your helmet has a chin guard or a visor, yes. Try the fit checker — pick your bike and helmet, get an answer in under a second.
Pre-order takes about a minute. Worldwide shipping is a flat $15 rate.
